

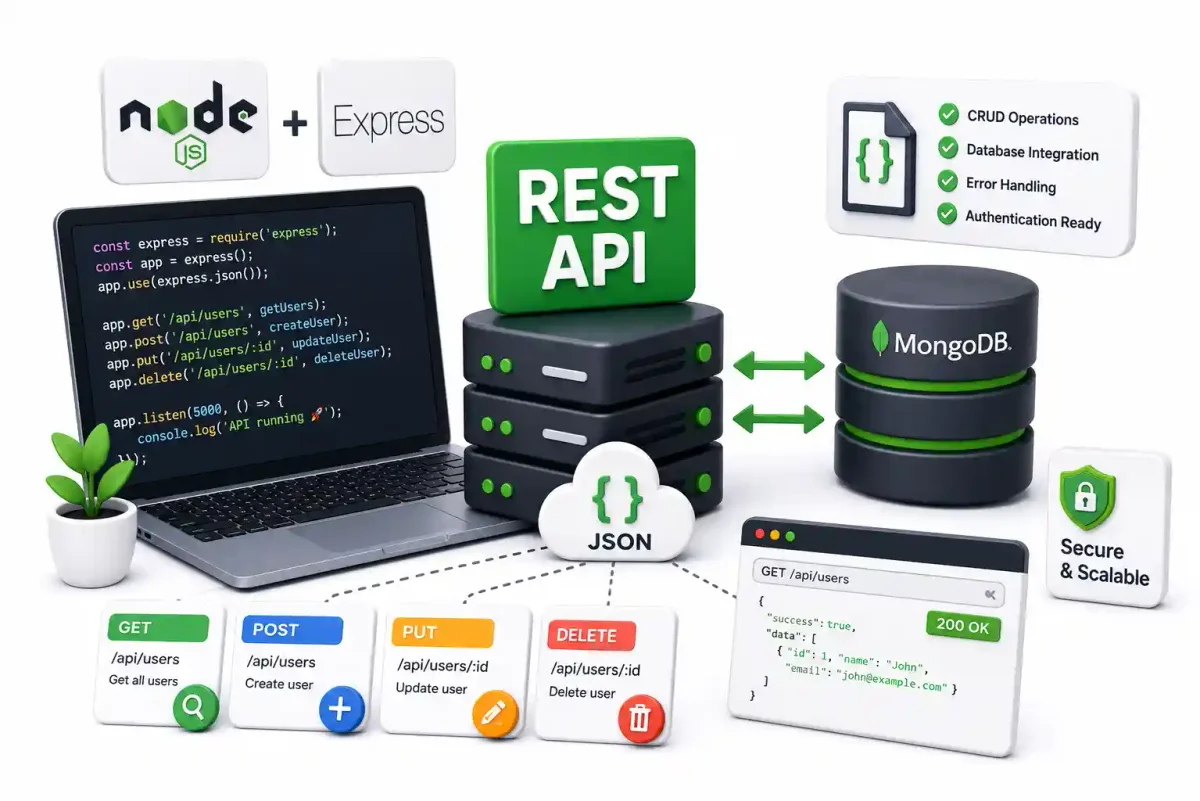
If you ask ten different developers how to build a REST API, you will get ten different folder structures, conflicting dependency lists, and architectural arguments.
As a sysadmin who ends up deploying Node.js applications to Linux VPS instances and debugging them in production, I have seen exactly what happens when APIs are built without infrastructure in mind. Memory leaks, unprotected routes, missing CORS headers, and unhandled promises crash the server in the middle of the night.
In this guide, we are not just throwing together a quick “Hello World” app. We are going to architect a robust, production-ready Node.js and Express API. We will implement structural best practices, securely connect to MongoDB, enforce HTTP security headers, and ensure your application is ready to be containerized in Docker and placed behind an Nginx reverse proxy.
1. Project Initialization and Dependency Management
Before writing a single line of application logic, we must lay down the dependency foundation.
Initialize the project on your Linux VPS or local development environment:
mkdir enterprise-api
cd enterprise-api
npm init -y
Next, install the exact dependencies required for a secure production environment:
npm install express mongoose dotenv cors helmet morgan
npm install --save-dev nodemon
Why these specific packages?
- Express: The unopinionated web routing framework.
- Mongoose: The ODM (Object Document Mapper) for MongoDB.
- dotenv: Loads environment variables safely (preventing database passwords from leaking into version control).
- cors: Configures Cross-Origin Resource Sharing, preventing browser security blocks when HTML5 frameworks like React or Vue (see React vs Vue vs Svelte) try to consume your API.
- helmet: Automatically injects secure HTTP headers (protecting against XSS and clickjacking).
- morgan: Formats and outputs HTTP request logs (crucial when parsing Linux logs in production).
2. Environment Variables and Security
Never hardcode credentials. In a production environment, orchestrated by Coolify or DokPloy, environment variables are injected directly into the container at runtime.
Create a .env file in the root directory:
PORT=5000
NODE_ENV=development
MONGODB_URI=mongodb://localhost:27017/enterprise_api
JWT_SECRET=your_highly_secure_random_string_here
Create a .gitignore file immediately. If you commit .env to GitHub, bots will scrape your database credentials within seconds, a lesson covered extensively in our Git and GitHub guide.
node_modules/
.env
npm-debug.log
3. The Entry Point: Server Architecture
Create server.js. This file is the entry point. Its only job is to bootstrap the Express application, mount middleware, and establish the network listener.
require('dotenv').config();
const express = require('express');
const cors = require('cors');
const helmet = require('helmet');
const morgan = require('morgan');
const connectDB = require('./src/config/database');

const app = express();
const PORT = process.env.PORT || 5000;

// Connect to MongoDB
connectDB();

// Security and Utility Middleware
app.use(helmet());
app.use(cors({ origin: process.env.FRONTEND_URL || '*' }));
app.use(express.json()); // Parses application/json
app.use(morgan('combined')); // Standard Apache combined log output

// Health Check for Load Balancers
app.get('/health', (req, res) => {
    res.status(200).json({ status: 'healthy', uptime: process.uptime() });
});

// Mount Routes
app.use('/api/v1/users', require('./src/routes/userRoutes'));

// Global Error Handler
app.use((err, req, res, next) => {
    console.error(`[ERROR] ${err.stack}`);
    res.status(500).json({ success: false, message: 'Internal Server Error' });
});

app.listen(PORT, () => {
    console.log(`Server running in ${process.env.NODE_ENV} mode on port ${PORT}`);
});
Notice the /health endpoint? When you deploy this application behind Nginx Proxy Manager, Traefik, or use monitoring tools like Uptime Kuma, they ping this exact route every 30 seconds to verify the container hasn’t crashed.
4. Connecting to MongoDB
Unlike relational databases like PostgreSQL or MySQL, MongoDB is a NoSQL document store. It pairs perfectly with Node.js because it natively stores JSON objects.
Create src/config/database.js:
const mongoose = require('mongoose');

const connectDB = async () => {
    try {
        const conn = await mongoose.connect(process.env.MONGODB_URI);
        console.log(`MongoDB Connected: ${conn.connection.host}`);
    } catch (error) {
        console.error(`MongoDB Connection Error: ${error.message}`);
        // If the database is down, the API cannot function. Exit the process.
        // PM2 or Docker will attempt to restart it automatically.
        process.exit(1);
    }
};

module.exports = connectDB;
5. Designing the Data Model
In src/models/User.js, we define the schema. Even though MongoDB is schemaless, Mongoose enforces strict validation at the application layer, preventing garbage data from corrupting your database.
const mongoose = require('mongoose');

const userSchema = new mongoose.Schema({
    username: {
        type: String,
        required: [true, 'Username is required'],
        unique: true,
        trim: true
    },
    email: {
        type: String,
        required: [true, 'Email is required'],
        unique: true,
        lowercase: true
    },
    role: {
        type: String,
        enum: ['user', 'admin'],
        default: 'user'
    }
}, {
    timestamps: true // Automatically manages createdAt and updatedAt
});

module.exports = mongoose.model('User', userSchema);
6. The Controller Logic
Controllers contain the actual business logic. This separation ensures your route files remain clean and readable. Because Node.js handles I/O asynchronously (see our Understanding Async JavaScript guide), all database calls must use async/await.
Create src/controllers/userController.js:
const User = require('../models/User');

// @desc    Get all users
// @route   GET /api/v1/users
exports.getUsers = async (req, res, next) => {
    try {
        const users = await User.find().select('-__v');
        res.status(200).json({ success: true, count: users.length, data: users });
    } catch (error) {
        next(error);
    }
};

// @desc    Create a new user
// @route   POST /api/v1/users
exports.createUser = async (req, res, next) => {
    try {
        const { username, email } = req.body;

        // Basic validation
        if (!username || !email) {
            return res.status(400).json({ success: false, message: 'Please provide all fields' });
        }

        const user = await User.create({ username, email });
        res.status(201).json({ success: true, data: user });
    } catch (error) {
        // Handle Mongoose duplicate key errors
        if (error.code === 11000) {
            return res.status(400).json({ success: false, message: 'Duplicate field value entered' });
        }
        next(error);
    }
};
7. Mounting the Routes
Create src/routes/userRoutes.js and map the HTTP verbs to your controller functions.
const express = require('express');
const router = express.Router();
const { getUsers, createUser } = require('../controllers/userController');

router.route('/')
    .get(getUsers)
    .post(createUser);

module.exports = router;
8. Testing the API
To verify everything works, update package.json with a dev script:
"scripts": {
  "start": "node server.js",
  "dev": "nodemon server.js"
}
Run npm run dev. You can test your endpoints using Postman, Insomnia, or simply the command line using cURL:
# Create a user
curl -X POST http://localhost:5000/api/v1/users \
  -H "Content-Type: application/json" \
  -d '{"username":"sysadmin","email":"[email protected]"}'

# Fetch all users
curl http://localhost:5000/api/v1/users
9. Preparing for Production Deployment
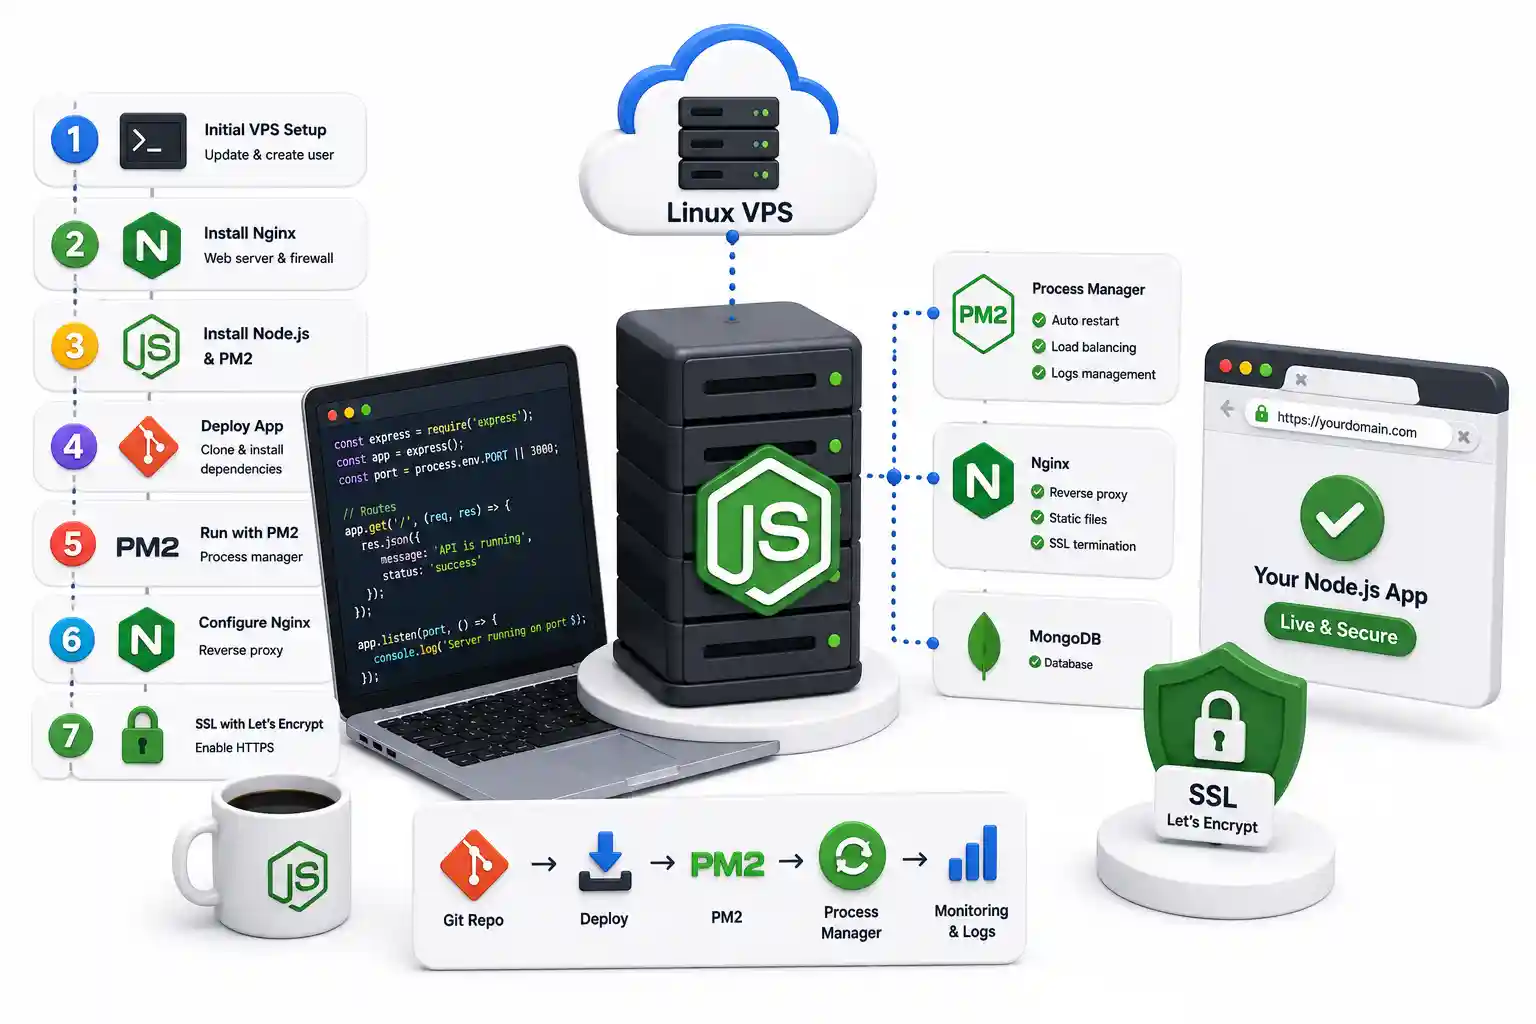
Writing the code is only 50% of the Software Development Life Cycle (see our SDLC Guide). Deploying it securely is the other half.
When moving to production:
- Never run
npm run dev. Always usenpm startwrapped inside a process manager like PM2 or systemd to ensure the app resurrects if it crashes. - Reverse Proxies: Place the app behind Nginx or Traefik to handle HTTP requests.
- TLS Certificates: Enforce HTTPS using Let’s Encrypt via Certbot. See our Let’s Encrypt guide.
- Firewall: Ensure UFW blocks direct access to port 5000; all traffic must flow through ports 80 and 443.
- Security Scanning: Use tools like Snyk or Trivy in your GitLab CI or GitHub Actions pipeline to scan your
package.jsonfor known vulnerabilities before deployment.
For the full deployment walkthrough, read our guide on Deploying Node.js to a Linux VPS.
Official Documentation
For further reading and in-depth API specifications, consult these official resources:
- Express.js Routing Guide: https://expressjs.com/en/guide/routing.html
- Mongoose Documentation: https://mongoosejs.com/docs/guide.html
- Node.js Security Best Practices: https://nodejs.org/en/docs/guides/nodejs-docker-webapp
- Helmet Security Headers: https://helmetjs.github.io/
- NPM CLI Documentation: https://docs.npmjs.com/cli/
Frequently Asked Questions (FAQ)
What is the primary difference between Node.js and Express?
Node.js is the underlying runtime environment that executes JavaScript on the server (outside the browser). Express is a minimal, unopinionated web framework built on top of Node.js that abstracts away complex HTTP routing and middleware management.
Why is Mongoose necessary if MongoDB is schemaless?
While MongoDB allows you to insert any JSON object, building an enterprise API without strict data validation leads to corrupted data. Mongoose enforces a strict schema, provides validation rules, and handles lifecycle hooks (like hashing a password before saving).
What does the helmet package actually do?
Helmet is a collection of middleware functions that automatically set secure HTTP response headers. It strips the X-Powered-By: Express header (which leaks stack information to attackers) and enforces headers that prevent Cross-Site Scripting (XSS) and Clickjacking.
Why should I use morgan for logging instead of console.log?
console.log is synchronous and lacks structured formatting. Morgan generates standardized, Apache-style HTTP logs (including IPs, response times, and status codes). When these logs are collected by tools like Prometheus or Datadog, standard formatting is required for proper analytics.
How do I secure routes using Authentication?
To secure routes, developers typically implement JWT (JSON Web Tokens) or OAuth2. A custom middleware function intercepts incoming requests, verifies the JWT signature in the Authorization header, and either grants access to the controller or returns a 401 Unauthorized status.
Why do we need the cors package?
CORS (Cross-Origin Resource Sharing) is a browser security mechanism. If your React frontend (hosted on app.com) tries to fetch data from your API (hosted on api.com), the browser will block it unless your API explicitly returns CORS headers permitting that specific origin.
What is PM2 and why do I need it?
Node.js runs on a single thread. If an uncaught exception occurs, the entire process dies, taking your API offline. PM2 is a production process manager that monitors your application, automatically restarts it if it crashes, and can load-balance it across multiple CPU cores.
Should I commit my node_modules folder to Git?
Absolutely never. The node_modules folder is massive and environment-specific (binary dependencies compiled on Windows will fail on Linux). You should only commit package.json and package-lock.json, and run npm install on the destination server or CI/CD pipeline.
How do I handle file uploads in an Express API?
Express cannot natively parse multipart form data (file uploads). You must integrate a specialized middleware package like multer. Multer intercepts the upload stream, saves the file to the local disk (or memory), and attaches the file metadata to the req.file object.
Is it better to deploy this API on a VPS or in Docker?
Containerizing your API using Docker is the industry standard because it guarantees environment parity (it runs exactly the same on your laptop as it does on a Linux server). However, deploying directly to a bare-metal VPS is an excellent learning experience before introducing orchestration complexity.
Discussion
Loading comments...