

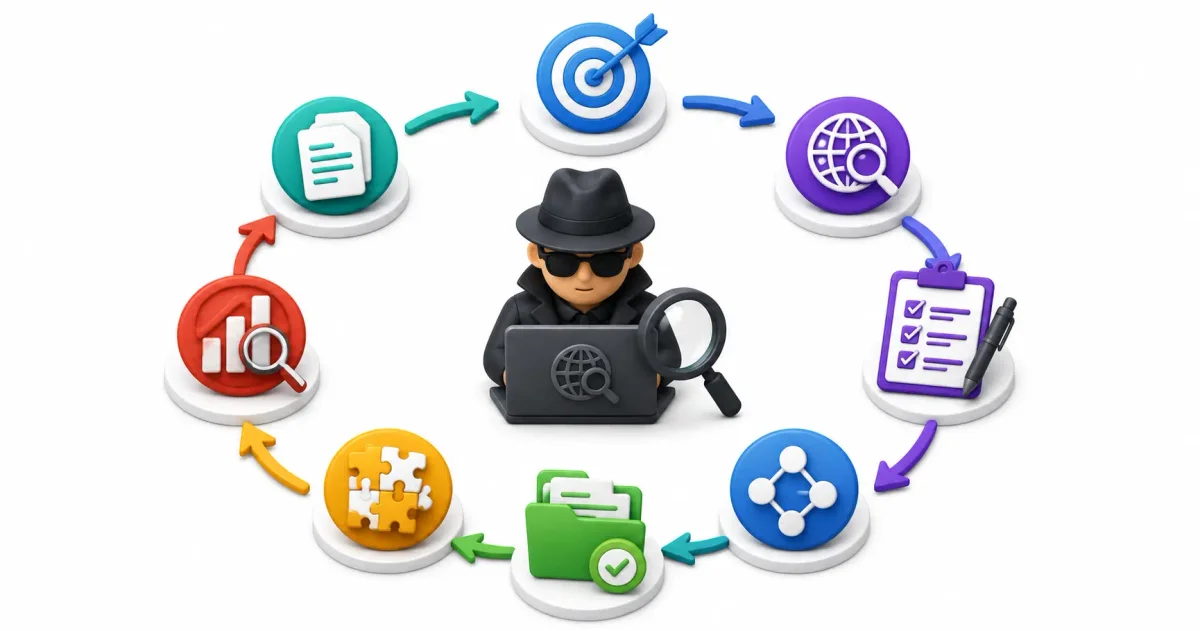
The difference between an amateur internet sleuth and a professional threat intelligence analyst is not the software tools they use; it is the structured workflow they execute.
In the data-heavy world of Open Source Intelligence (OSINT), information overload is a constant threat. If you are handed a suspicious IP address or email indicator and you immediately throw it into random search scripts without a plan, you will fail. You will generate disorganized noise, burn your OPSEC, and struggle to write a legally defensible intelligence report.
Professional intelligence agencies, corporate incident response teams, and law enforcement units follow repeatable investigation pipelines. A workflow forces the investigator to slow down, secure their digital environment, systematically collect data, and verify conclusions scientifically.
Adhering to a standardized investigation lifecycle transforms unstructured web data into actionable threat intelligence while protecting team members from digital exposure.
In this guide, we will break down the 5-Step OSINT Investigation Workflow—from initial seed ingestion to OPSEC pre-flight checks, passive data collection, ACH correlation, and final intelligence reporting.
⚡ The 5-Step OSINT Investigation Pipeline
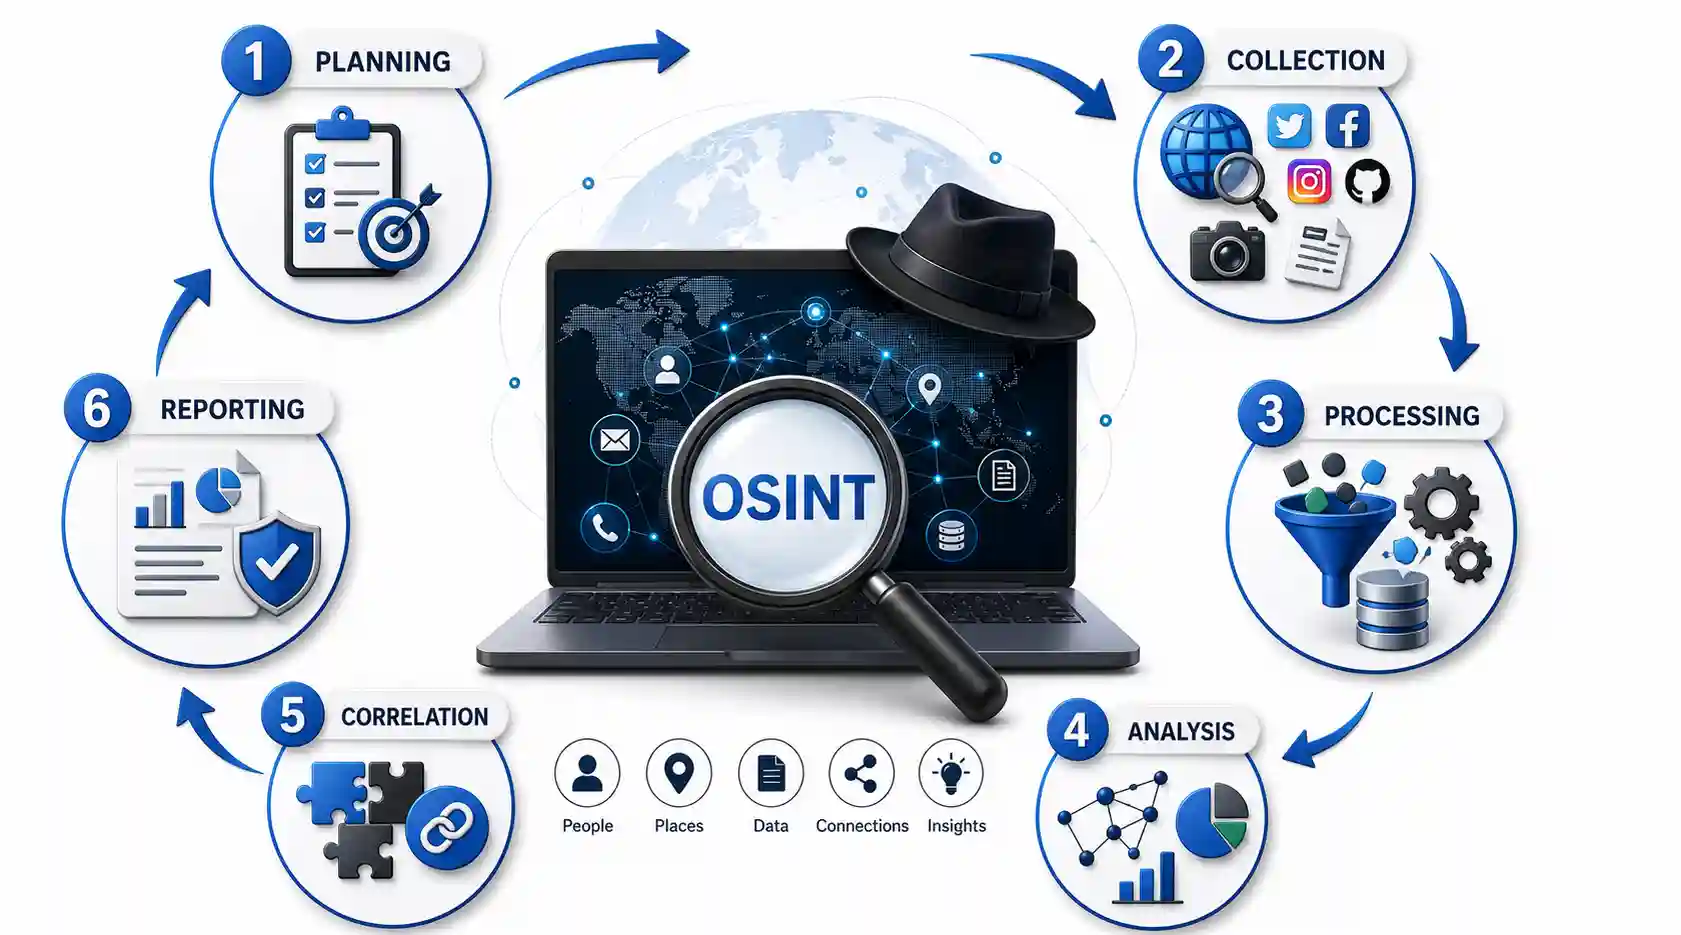
Follow this 5-stage pipeline for every digital investigation:
- Stage 1: Seed Ingestion & PIR → Define Priority Intelligence Requirements (PIR) and set Rules of Engagement (RoE) →
- Stage 2: OPSEC Pre-Flight → Boot isolated VM, verify zero-log VPN mesh, and check for DNS leaks →
- Stage 3: Passive Data Collection → Gather WHOIS, DNS records, subdomains, and social intelligence passively →
- Stage 4: Data Correlation & ACH → Synthesize evidence using Analysis of Competing Hypotheses matrix →
- Stage 5: Reporting & Hashing → Generate timestamped executive report and calculate SHA-256 evidence hashes
📊 The 5-Stage OSINT Workflow Summary Matrix
Here is how each phase of the OSINT investigation pipeline functions:
| Workflow Stage | Primary Objective | Key Tools & Utilities | Output Artifact |
|---|---|---|---|
| 1. Ingestion & PIR | Scope case limits, define key questions & RoE | Case Management Boards, Rules of Engagement contracts | Priority Intelligence Requirements (PIR) Document |
| 2. OPSEC Pre-Flight | Build isolated research sandbox, test anonymity | CSI Linux, Trace Labs VM, WireGuard, VPNs, dnsleaktest | Verified Anonymized Investigation Workstation |
| 3. Passive Collection | Collect public records without contacting target | VirusTotal, SpiderFoot, Maltego, Wayback Machine | Raw Evidence Data Vault (JSON, PCAP, Screenshots) |
| 4. Correlation & ACH | Cross-reference data and eliminate cognitive bias | Obsidian, Maltego Graph, ACH Matrix, Python Scripts | Verified Threat Intelligence Correlation Map |
| 5. Reporting & Hashing | Package actionable intelligence for stakeholders | SHA-256 Hashing Utilities, PDF Generators, Markdown | Executive Intelligence Report & Legal Chain of Custody |
1. Stage 1: Ingestion and Scope Definition (The Foundation)
An investigation never starts with a search query. It begins with establishing case boundaries.
Identifying the Target Seed
Every investigation begins with a starting indicator (or “seed”):
- Network Indicators: A malicious IP address, domain name, or BGP autonomous system number (ASN) probing firewalls.
- Identity Indicators: An anonymous email address, social media handle, VOIP phone number, or username used in phishing campaigns.
- File & Crypto Indicators: A suspicious binary file hash (MD5/SHA-256), macro-enabled document, or cryptocurrency wallet address (Bitcoin, Ethereum, Monero) associated with ransomware demands.
Defining Priority Intelligence Requirements (PIR)
Before opening search tools, define your Priority Intelligence Requirement (PIR). The PIR defines what specific questions must be answered:
- Amateur PIR (Vague): “Tell me everything about this domain.”
- Professional PIR (Specific): “Identify the registered domain owner, physical hosting infrastructure, and historical IP resolutions of this domain to determine if it is affiliated with a known ransomware campaign targeting financial institutions.”
- Stakeholder Alignment: Secure written approval of the PIR from client legal counsel or security operations directors to ensure the investigation stays within budget and scope boundaries.
Establishing Rules of Engagement (RoE)
Define legal boundaries before starting:
- Is active port scanning permitted? (Usually no—keep it passive). Read about active vs passive risks in common OSINT mistakes and how to avoid them.
- Are sock puppet accounts authorized for platform inspection?
- Have stakeholders signed formal authorization documents?
2. Stage 2: The Operational Security (OPSEC) Pre-Flight
Never inspect target infrastructure from your host machine or corporate network.
1. Isolated Virtualization Sandboxes
Conduct all investigations inside isolated Virtual Machines (VMs) using CSI Linux, Trace Labs OSINT VM, or custom Ubuntu/Debian instances on VirtualBox or Proxmox. Follow our complete guide on building your first OSINT toolkit and Proxmox home lab setup guide.
- Clean VM Snapshots: Revert Virtual Machine states to clean baseline snapshots before starting new cases to eliminate residual cache files.
- Clipboard Isolation: Disable shared clipboard and drag-and-drop integration between host OS and guest investigation VM.
2. Multi-Hop VPN & Mesh Infrastructure
Route investigation traffic through encrypted mesh VPN tunnels managed by WireGuard or Tailscale. Compare mesh setups in Tailscale vs WireGuard comparison and review how a VPN works.
3. Sock Puppet Account Isolation
When researching social media platforms, never use personal or corporate accounts:
- Create synthetic persona identities complete with dedicated VOIP phone numbers, burner emails, and non-identifying profile pictures.
- Maintain complete isolation between sock puppet login sessions and personal browser profiles.
4. DNS & WebRTC Pre-Flight Checks
Run a pre-flight leak check (dnsleaktest.com) inside the VM to verify that domain resolution queries travel inside the encrypted tunnel without leaking to your ISP. Learn DNS mechanics in what is DNS explained.
3. Stage 3: Passive Data Collection & Funneling
Once the environment is secure, begin gathering public data systematically.
1. Network Infrastructure Reconnaissance
- DNS & WHOIS History: Query current and historical domain records using CLI utilities (
dig,whois,nslookup). Learn commands in top 20 Linux security commands. - Passive DNS Replication Databases: Query SecurityTrails or VirusTotal passive DNS databases to trace historical IP address changes without sending packets to target DNS servers.
- Subdomain Enumeration & SAN Parsing: Discover hidden subdomains by parsing Subject Alternative Name (SAN) fields in public SSL/TLS certificates via Certificate Transparency logs (crt.sh).
- Web Server Security Auditing: Inspect public TLS/HTTPS certificates using our Let’s Encrypt guide and test link reputation with VirusTotal via our how to check if a website is safe guide.
2. Automated OSINT Scanners & Data Funnels
Deploy automated gathering frameworks to pull public threat intelligence across disparate databases:
- SpiderFoot / Maltego: Map relationships between domains, IP addresses, email addresses, and social handles.
- Sherlock / Holehe: Search across hundreds of social networks for username matches.
- Wayback Machine / Archive.is: Inspect deleted historical web pages safely.
- Social Media Scraping & EXIF Data Extraction: Extract GPS geotags, camera serial numbers, and creation timestamps from public image files using tools like ExifTool.
4. Stage 4: Data Correlation & ACH Verification
Raw data is not intelligence. Stage 4 transforms disconnected data points into actionable insights.
1. Link Analysis & Mind Mapping
Graph relationships between indicators using visualization tools like Maltego, Obsidian, Gephi, or SpiderFoot Graph. Map out temporal timelines, spatial geotags, and infrastructure node connections visually:
Domain A ➔ IP Address X ➔ SSL Certificate Y ➔ Email Address Z
2. Analysis of Competing Hypotheses (ACH)
To eliminate confirmation bias and prevent premature closure, apply the CIA’s ACH framework:
- List all potential threat explanations for the observed dataset.
- Evaluate each piece of collected evidence against every hypothesis.
- Attempt to disprove each hypothesis rather than seeking supporting proof. The explanation with the fewest disproving facts is most likely correct.
- Conduct red-team peer reviews to verify that no logical leaps or biased assumptions were introduced during correlation.
5. Stage 5: Reporting, Evidence Preservation & Hashing
An investigation concludes with an objective, verifiable intelligence report.
1. Cryptographic Evidence Hashing & Chain of Custody
Generate SHA-256 cryptographic hashes for all evidence files (screenshots, PCAP network captures, scraped HTML text, raw JSON payloads):
sha256sum investigation_evidence_2026.png > evidence.sha256Store evidence in immutable, encrypted storage vaults with read-only permissions to preserve chain of custody for legal proceedings.
2. Structuring the Intelligence Report
Format executive reports into clean, readable sections:
- Executive Summary: Concise 1-page takeaway for non-technical executive leadership, detailing key findings and overall risk assessment.
- Scope & Priority Requirements: Details of tools used, PIR objectives, and signed Rules of Engagement contracts.
- Key Findings & Evidence Matrix: Fact-checked analysis organized by confidence levels (High, Medium, Low confidence) with verified links and SHA-256 evidence hashes.
- Threat Attribution & Network Graph: Visual network graphs mapping relationships between target domains, IPs, and email handles.
- Actionable Security Recommendations: Priority remediation steps to mitigate discovered vulnerabilities or block malicious infrastructure.
🔒 Hardening Host Infrastructure & Workstation Security
Protect investigation infrastructure and host servers against counter-reconnaissance attacks:
- Host Firewalls & Network Isolation: Lock down OSINT workstations using UFW or
firewalld. Follow our tutorials on UFW firewall guide and firewall security overview. - Automated Intrusion Prevention: Block malicious IP scans with Fail2ban and CrowdSec. Read our guides on Fail2ban guide and CrowdSec beginner guide.
- Secret & Password Management: Store investigation tokens and sock puppet credentials in Vaultwarden; see our Vaultwarden self-hosted guide and generate keys using our password generator. Compare options in best password managers, passkeys vs passwords, and SSO guide for 2026. Audit breach risks with check if your password was leaked.
- Hardened Ingress Proxying: Secure web portals behind Nginx Proxy Manager, Traefik, or Caddy with SSL. Review our Nginx Proxy Manager security guide and generate server configs using our Nginx config generator.
- Kernel Access Control (MAC): Enforce access controls using AppArmor vs SELinux and review permissions in Linux file permissions explained.
- Antivirus & Malware Scanning: Run ClamAV scanning alongside rootkit detectors. Read our tutorials on ClamAV antivirus guide and detecting rootkits on Linux.
- Container Isolation & Auditing: Package scrapers into Docker or Podman containers (see our installing Docker on Ubuntu guide and Docker vs Podman benchmark). Scan container images using Trivy via our securing Docker containers guide. Generate container manifests with our Docker Compose generator.
- Host Audit Commands: Harder SSH access using our Ubuntu SSH hardening guide, inspect host system logs using Linux logs explained, and audit compliance with Lynis via our Lynis security audit guide.
🛠️ Self-Hosted Cloud & Microservices Ecosystem
Deploy, test, and host intelligence application stacks across modern cloud platforms and self-hosted environments:
- Cloud Infrastructure Alternatives: Compare cloud providers in our AWS vs Azure vs Google Cloud comparison, deploy static web portals via Azure Static Web Apps, or explore free static platforms in how to host a website for free.
- Container Orchestration: Manage container clusters with Kubernetes; see our guide to Kubernetes explained simply.
- Self-Hosted PaaS Panels: Deploy web apps on private VPS instances using Coolify or DokPloy. Read our Coolify self-hosting guide and DokPloy setup guide.
- Visual Management Panels: Monitor Docker containers using Portainer; read our Portainer self-hosted guide.
- Home Lab Infrastructure: Back up server configurations using our backup strategies for self-hosted servers, store files in Nextcloud, block tracking ads with Pi-hole, and automate workflows using n8n via Docker Compose.
- Private Local AI Models: Synthesize threat reports using local LLMs via Ollama and Open WebUI. Read our guide on local AI vs cloud AI, our Ollama Linux installation guide, and Open WebUI setup guide. Connect AI models using the Model Context Protocol (MCP).
- Development Workflows: Build security tools across the software development life cycle (see our SDLC guide for beginners), compare programming languages in Python vs Rust, handle async JavaScript requests, and test payloads using Burp Suite Community Edition. Optimize web applications using our beginner’s guide to SEO and how search engines crawl websites.
💻 Developer & Sysadmin Web Utilities
Bookmark these interactive web utilities to format data, test regex patterns, and build server configs:
- Container Setup: Docker Compose Generator
- Reverse Proxy Configs: Nginx Config Generator
- Init Scripts: Systemd Service File Generator
- Data Formatting: JSON Formatter & JSON Validator
- Secret Generation: Password Generator & ENV Generator
- SEO Metadata: Schema Markup Generator
- Expression Testing: Regex Tester
- Linux Learning: Linux Command Explorer & Linux Permission Calculator
- Automation: Cron Expression Generator & Gitignore Generator
📖 Official Documentation & Standards References
- Trace Labs OSINT Framework: https://www.tracelabs.org
- SpiderFoot OSINT Automation Documentation: https://www.spiderfoot.net/documentation
- Maltego Documentation & Guides: https://docs.maltego.com
- NIST Digital Evidence Handling Guidelines (SP 800-86): https://csrc.nist.gov/publications/detail/sp/800-86/final
- SANS Institute Threat Intelligence Framework: https://www.sans.org/white-papers
❓ Frequently Asked Questions
What is an OSINT workflow?
An OSINT workflow is a repeatable 5-stage process (Ingestion, OPSEC Pre-Flight, Passive Collection, ACH Correlation, and Reporting) used by intelligence analysts to conduct structured, secure, and legally defensible investigations.
What is a Priority Intelligence Requirement (PIR)?
A PIR is a clear, specific question defined at the beginning of an investigation (e.g. “Identify the real-world operator and infrastructure of Domain X”) that establishes the exact objectives and scope of the case.
Why is an OPSEC pre-flight check necessary before conducting OSINT?
An OPSEC pre-flight check ensures your investigation workstation is isolated in a VM, your IP address is masked by an encrypted VPN, and your system has no active DNS or WebRTC leaks that could expose your identity to the target.
What tools are best for passive OSINT collection?
Top passive collection tools include VirusTotal (domain/hash intelligence), SpiderFoot (automated OSINT footprinting), Maltego (graph link analysis), Sherlock (username lookup), and Archive.org (historical web snapshots).
What is Analysis of Competing Hypotheses (ACH)?
Developed by the CIA, ACH is an analytical methodology where investigators list all possible explanations for a dataset and systematically attempt to disprove each hypothesis to eliminate cognitive bias.
Why should I calculate SHA-256 hashes of OSINT evidence?
Calculating SHA-256 cryptographic hashes creates an immutable digital fingerprint of evidence files, proving in court or client audits that evidence was not modified or tampered with after collection.
What is the difference between active and passive OSINT?
Passive OSINT gathers publicly indexed data (WHOIS, DNS history, search engines) without sending packets directly to the target. Active recon (port scanning, web fuzzing) sends traffic directly to target servers and can be illegal without authorization.
What is a sock puppet account in an OSINT workflow?
A sock puppet is an anonymized digital persona (fake social profile, burner email) created inside an isolated investigation VM to inspect social media platforms safely without alerting the target.
How do I prevent DNS leaks during an investigation?
Enable DNS-over-HTTPS or run zero-log VPN client software inside your VM, and execute a verification scan on dnsleaktest.com prior to conducting any target research.
What should be included in an executive OSINT intelligence report?
An executive report should include a 1-page Executive Summary, defined Scope & PIRs, fact-checked Evidence Matrices with SHA-256 hashes, visual correlation graphs, and actionable remediation recommendations.
Discussion
Loading comments...