

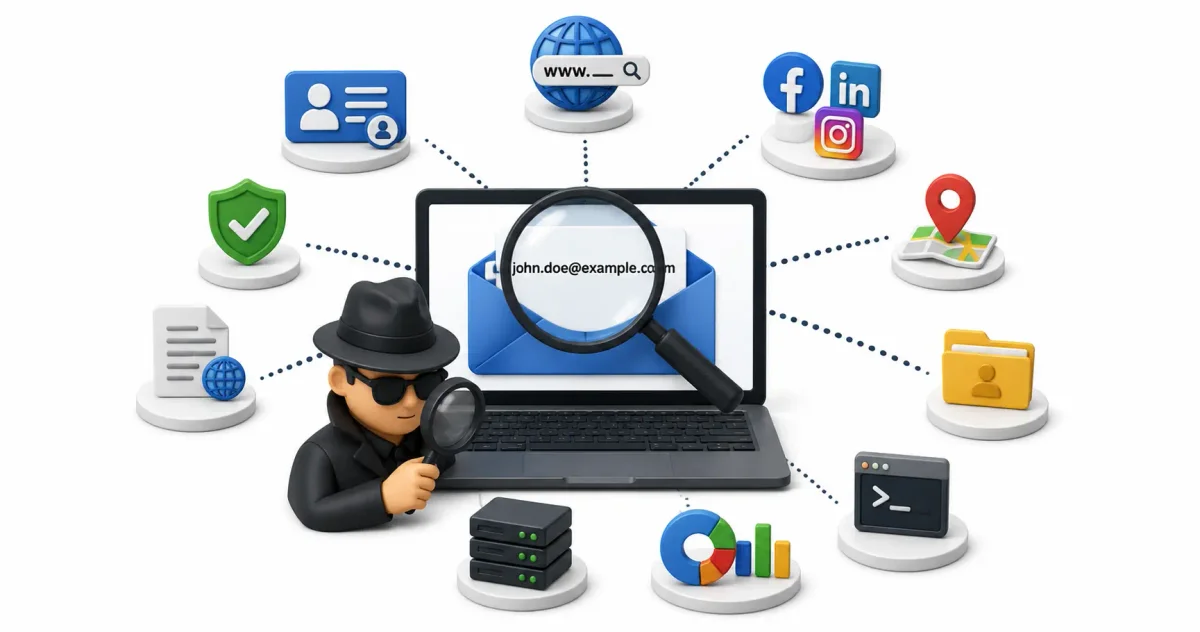
In the hyper-connected digital age of 2026, an email address is far more than just a communication tool. It is the foundation of modern digital identity.
Every service a target utilizes on the internet—corporate banking portals, personal social media accounts, medical portals, dating profiles, and cryptocurrency wallets—requires a valid email address as the anchor for initial account creation and password recovery. Because of this architectural reality of the internet, a single email address is arguably the most valuable starting indicator (or “pivot point”) in the field of Open-Source Intelligence (OSINT).
Whether you are a corporate threat intelligence analyst investigating a spear-phishing campaign, an investigative journalist tracing the creator of a global disinformation network, or a penetration tester performing authorized social engineering reconnaissance, mastering advanced email OSINT is a mandatory technical skill.
In this guide, we will break down the step-by-step OSINT workflow for investigating an email address. We will cover the anatomy of an email, the importance of passive SMTP verification, exploring dark web database breach archives, abusing social media password recovery loops, and correlating username aliases across the internet.
1. The Anatomy of the Target: Analyzing the String
Before you execute automated python tools, you must stop, breathe, and manually analyze the structure of the email address string. A standard email is divided into two halves, separated by the @ symbol: the Alias (local-part) and the Domain.
The Classic Example Target: [email protected]
Analyzing the Domain Architecture
The domain half tells an experienced investigator a wealth of information about the target’s operational security (OPSEC) awareness and their technical sophistication.
- The Mainstream Consumer Providers (
@gmail.com,@yahoo.com,@outlook.com): These are standard consumer domains. These global corporations are cooperative with international law enforcement subpoenas. However, they offer robust spam filtering. They are frequently used by low-level scammers in low-effort phishing campaigns. If a target uses Gmail, their OPSEC awareness is relatively low. - The Hardened Privacy Providers (
@protonmail.ch,@tutanota.com,@skiff.com): These services offer end-to-end encryption and strip identifying IP addresses from the raw email headers. If the target is using a Swiss ProtonMail account, they possess a moderate to high degree of OPSEC awareness. They are trying to hide from surveillance. - The Ephemeral Burner Domains (
@10minutemail.com,@guerrillamail.com): These temporary domains self-destruct their inbox after a short period. If you see this, the target was creating an anonymous “throwaway” account to bypass a strict registration filter or download a payload without leaving a trace. - The Corporate Custom Domains (
@target-company.com): If the email uses a custom domain, your investigation shifts away from investigating the individual human and into investigating the corporate infrastructure. You must pivot to investigating the domain’s WHOIS registration, historical DNS records, and BGP routing using tools like theHarvester and Maltego.
Analyzing the Alias (The Human Element)
The alias half (DarkGhost_99) is the human element. It often reveals demographic clues about the target.
Does the alias contain a birth year (_99 indicating 1999)? Does it contain a geographic reference (like a local sports team)? Most importantly, human beings are creatures of habit. They often reuse their preferred alias across multiple online platforms, which we will exploit in the Username Correlation phase.
2. Passive Verification and Invisible Enumeration
The worst mistake an investigator can make is sending a blank test email to the target address just to see if it bounces back. This is an “active” and destructive technique. It alerts the target that they are being investigated, causing them to burn their digital infrastructure and vanish.
You must verify that the email address exists passively, without the target receiving a notification.
Step 1: Querying DNS Mail Exchanger (MX) Records
First, you must verify if the target domain is capable of receiving email routing. You query the DNS servers for the domain’s MX records.
# Using the standard nslookup tool in a Linux terminal
nslookup -type=mx protonmail.ch
If the terminal returns a list of active mail servers (e.g., mail.protonmail.ch), the domain is valid and exists. If it returns nothing, the domain is dead, and the email address cannot exist.
Step 2: The Silent SMTP Handshake
To verify the alias without actually sending an email, we simulate an email transfer by talking directly to the target’s mail server via port 25 using SMTP (Simple Mail Transfer Protocol).
We connect to the server via Telnet or Netcat and execute the RCPT TO: command. We ask the server, “Are you willing to accept a message for the user DarkGhost_99?”
- If the mail server responds with a
250 OKstatus code, the email address is valid and active. - If the server responds with a
550 User Unknownstatus code, the email address does not exist, and you can stop your investigation.
Investigative Note: Many modern enterprise mail servers (like Google Workspace and Office 365) use a defense mechanism called a “Catch-All.” They will respond with a 250 OK to any alias you type, rendering this technique ineffective. In these cases, you must rely on commercial verification APIs like Hunter.io, Snov.io, or specialized tools.
3. Plundering Data Breach Archives
Once you have passively verified the email is active, your next step is the most lucrative phase of modern OSINT: analyzing data breaches.
Over the last fifteen years, almost every major website on Earth has suffered a data breach. When hackers compromise a gaming forum, a global social network, or a corporate database, they steal the SQL user tables and dump them on the dark web. These dumps contain billions of email addresses, usernames, IP addresses, dates of birth, and sensitive passwords.
The Foundational “HaveIBeenPwned” Query
Your first stop is Troy Hunt’s free service, HaveIBeenPwned.com. You input the target email address, and the site cross-references it against thousands of known breaches.
This provides two critical pieces of intelligence:
- Platform Usage Mapping: If the target email appears in the
Adobe (2013),LinkedIn (2012), andMyFitnessPal (2018)breaches, you now know what corporate services the target uses. You know they are a professional (LinkedIn) who likely uses design software (Adobe) and tracks their calories (MyFitnessPal). - Chronological Timeline Creation: You can establish a chronological timeline of the target’s digital life based on the dates of the breaches.
Breach Correlation (IntelX and DeHashed)
While HaveIBeenPwned only tells you if the email was breached (it protects user data), investigators use paid services like IntelligenceX (IntelX) or DeHashed to view the leaked data.
Viewing the breach data allows you to extract the target’s historical Passwords.
Why do we care about an expired password from 2013? Because humans reuse passwords.
If the target used the password Hunter2_Chicago_Bears! in a 2013 Yahoo breach, we now have a strong geographic indicator (Chicago). Furthermore, we can take that password and perform a “reverse password search” across the breach database. We ask the database: Show me other email addresses that use the password “Hunter2_Chicago_Bears!”.
This technique often reveals the target’s alternate email addresses and sock puppet accounts.
4. Exploiting Social Media Recovery Loops
If the target email does not appear in any known data breaches, you must move to active platform enumeration.
Most social media platforms prioritize user convenience and engagement over privacy. If a user forgets their password, the platform tries to help them recover it. We can use this recovery mechanism to verify if the target owns an account on that platform.
The Password Reset Technique
Navigate to the main login page of a platform (e.g., Facebook, X/Twitter, Instagram, PayPal). Click the “Forgot Password” or “Can’t log in?” link. Enter the target’s email address.
Scenario A (The Account Does Not Exist): The platform will state, “No account is associated with this email address.” You can cross this platform off your investigation list.
Scenario B (The Account Exists - The Information Leak): The platform accepts the email and moves to the recovery confirmation screen. This screen is an OSINT goldmine. The platform will say: “We have sent a recovery code to your trusted devices.” It will then display censored but identifiable recovery options:
- Email a password reset link to:
da********@gmail.com - Text a code to the phone number ending in
**81
You have not only confirmed the target has an active account on this platform, but you have extracted the last two digits of their cell phone number and the starting prefix of their backup email address. If you investigate further and later find a phone number publicly associated with the target on a real estate website, and that number ends in 81, you have a confirmed match.
OPSEC Warning: Never click the final “Send Code” or “Continue” button on the recovery screen. Doing so will push an SMS text message or an email alert to the target’s phone, alerting them that someone is trying to access their account.
Google GAIA ID Extraction
If the target uses a standard @gmail.com address, you can extract their internal Google Account ID (GAIA ID). Every Google account is assigned a permanent numeric internal ID upon creation. By querying the Google Contacts API or looking at the HTML source code of a Google Hangouts/Chat interaction, you can extract this ID.
Once you possess the GAIA ID, you can use specialized Python OSINT tools (like GHunt) to query the ID against Google Maps, Google Reviews, and YouTube comments. This frequently reveals the target’s home location based on restaurants they have reviewed on Google Maps, bypassing the privacy of their email address.
5. Username Correlation and Alias Tracking
Remember the alias we analyzed in Step 1 (DarkGhost_99)? We are now going to track that alias across the internet.
People rarely invent a new username for every site they visit. If they use an alias for their main email, they likely use the same alias for their Reddit account, PlayStation Network profile, and GitHub repository.
Automated Username Scraping
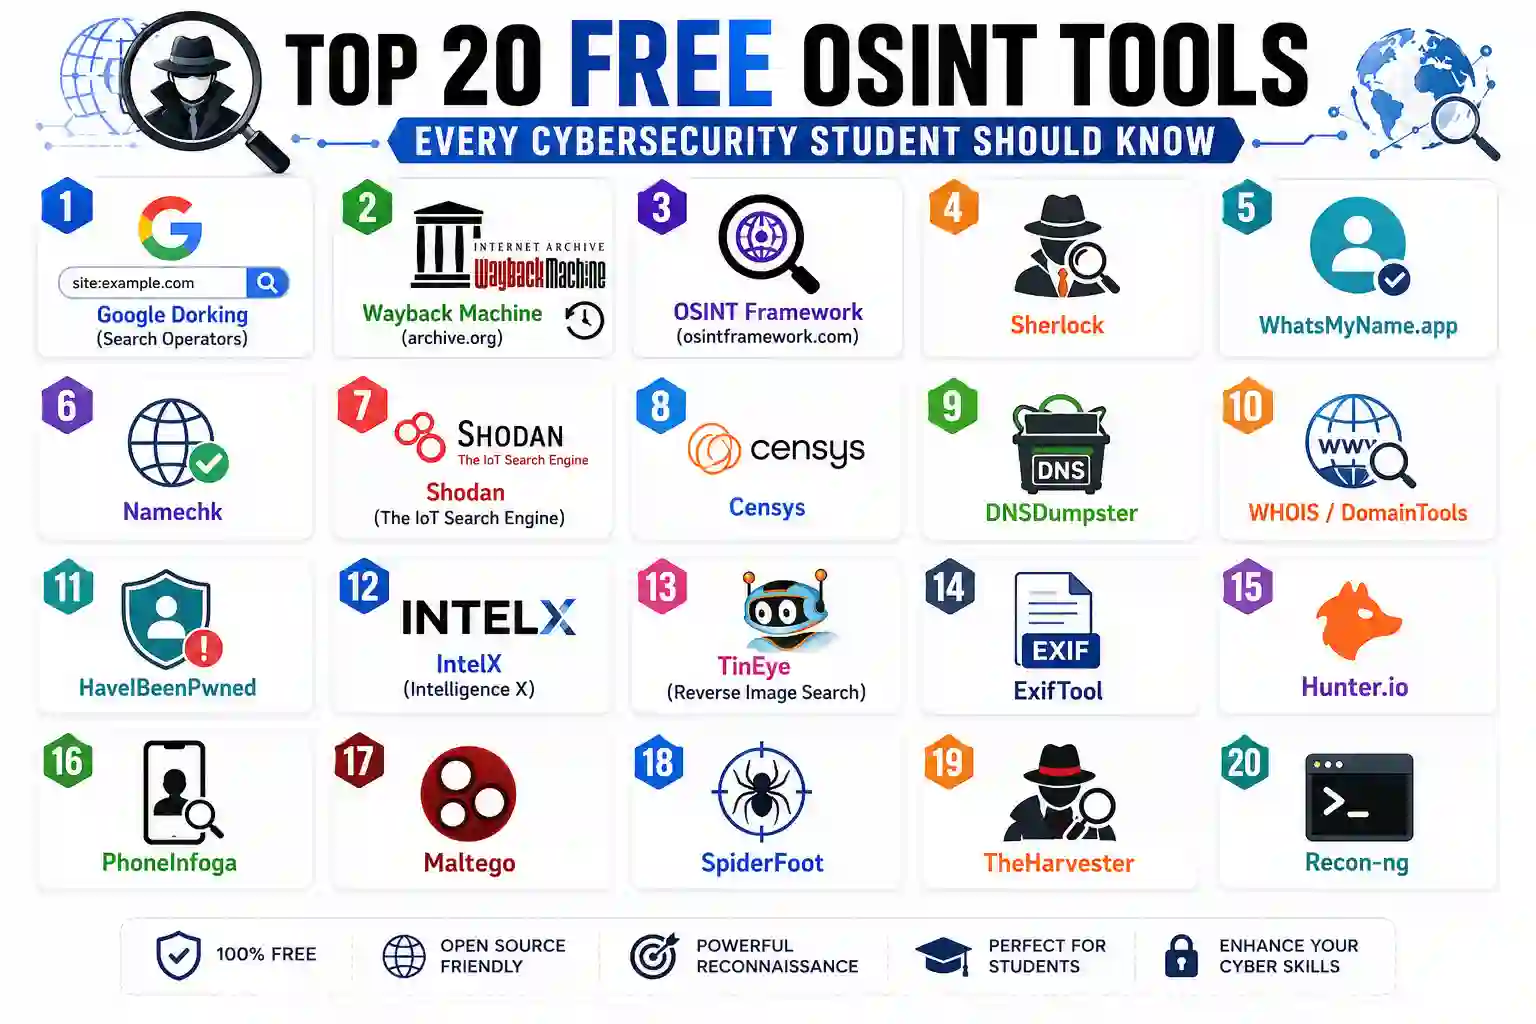
Instead of manually typing the alias into a hundred different websites one by one, OSINT investigators use automated command-line Python tools like Sherlock or web-based scanning engines like WhatsMyName.app.
You run the command:
sherlock DarkGhost_99The tool queries the user directories of over 300 different social media networks, forums, and blogging platforms in seconds. It will return a list of active URLs:
https://www.reddit.com/user/DarkGhost_99https://github.com/DarkGhost_99https://steamcommunity.com/id/DarkGhost_99
Behavioral Correlation (The Rule of Two)
Automated tools only prove that an account with that name exists somewhere on a server. They do not prove that your target owns those accounts. Someone else could have easily registered the same name.
You must investigate every discovered profile and perform Behavioral Correlation.
- Does the active Reddit account post in local subreddits related to the city you discovered in the Yahoo password breach?
- Does the GitHub profile list the same partial backup email address you found in the Facebook password reset loop?
- Does the writing style, unique slang, or grammatical errors match the text of the original phishing email you are investigating?
You must apply the Rule of Two: You cannot attribute a random social media profile to your target unless you possess two independent, verified data points that connect them. Once verified, you can pull the data into a link analysis tool, as detailed in our Maltego Community Edition guide.
6. Operational Security (OPSEC) for the Investigator
When performing OSINT on a suspicious email address, you must protect your identity and location.
- Never Use Personal Accounts: If you are searching for a target on platforms like Facebook, LinkedIn, or TikTok, you must be logged in. If you use your personal account, the platform’s recommendation algorithm may suggest you as a “Friend” directly to the target, or notify the target that you viewed their profile (LinkedIn is notorious for this). You must create isolated, anonymous “Sock Puppet” accounts for investigations.
- Use a Hardened Environment: Always conduct investigations from a secure, isolated virtual machine routed through a non-logging VPN, ensuring your home IP address is never leaked to a platform or a tracking pixel. Review our guide on Building an OSINT Toolkit for setup instructions.
- Beware of Canary Tokens: Threat actors embed invisible tracking pixels (Canary Tokens) in emails or host them on custom domains. If you click a link or allow your browser to load an invisible image hosted by the target, their server will log your IP address and your browser fingerprint. Always disable automatic image loading in your investigation email client.
Frequently Asked Questions (FAQ)
How can I find out who owns an email address?
You can investigate an email address by using reverse email lookup tools, searching breach databases like HaveIBeenPwned, checking social media password reset features, and using search engine dorks to find where the email has been publicly posted.
Can you trace an email address to a physical location?
Directly tracing an email to a physical location is difficult without law enforcement access to ISP logs. However, OSINT analysts can infer location by analyzing the timezone of the email server, discovering linked social media profiles that list a location, or finding the email associated with local business registrations.
Is reverse email lookup legal?
Yes, as long as you are using publicly available information and open-source intelligence methods. Accessing private databases, bypassing security controls, or hacking into an email account is illegal.
What is the best free tool for email OSINT?
HaveIBeenPwned is excellent for checking if an email was part of a data breach. Epieos is another powerful tool that can passively check if an email is registered to various online services like Google, Skype, or LinkedIn without alerting the target.
Can someone know if I investigate their email address?
If you use passive OSINT techniques (like querying public databases, search engines, and using Epieos), the target will not know. However, if you attempt to log in or send a tracking pixel, you risk alerting them.
Conclusion: The Ultimate OSINT Pivot Point
An email address is a skeleton key to unlocking modern digital identity. By understanding the underlying architecture of mail servers, leveraging data breaches, using the privacy flaws of social media password recovery systems, and methodically tracking username aliases across the globe, an investigator can de-anonymize a target.
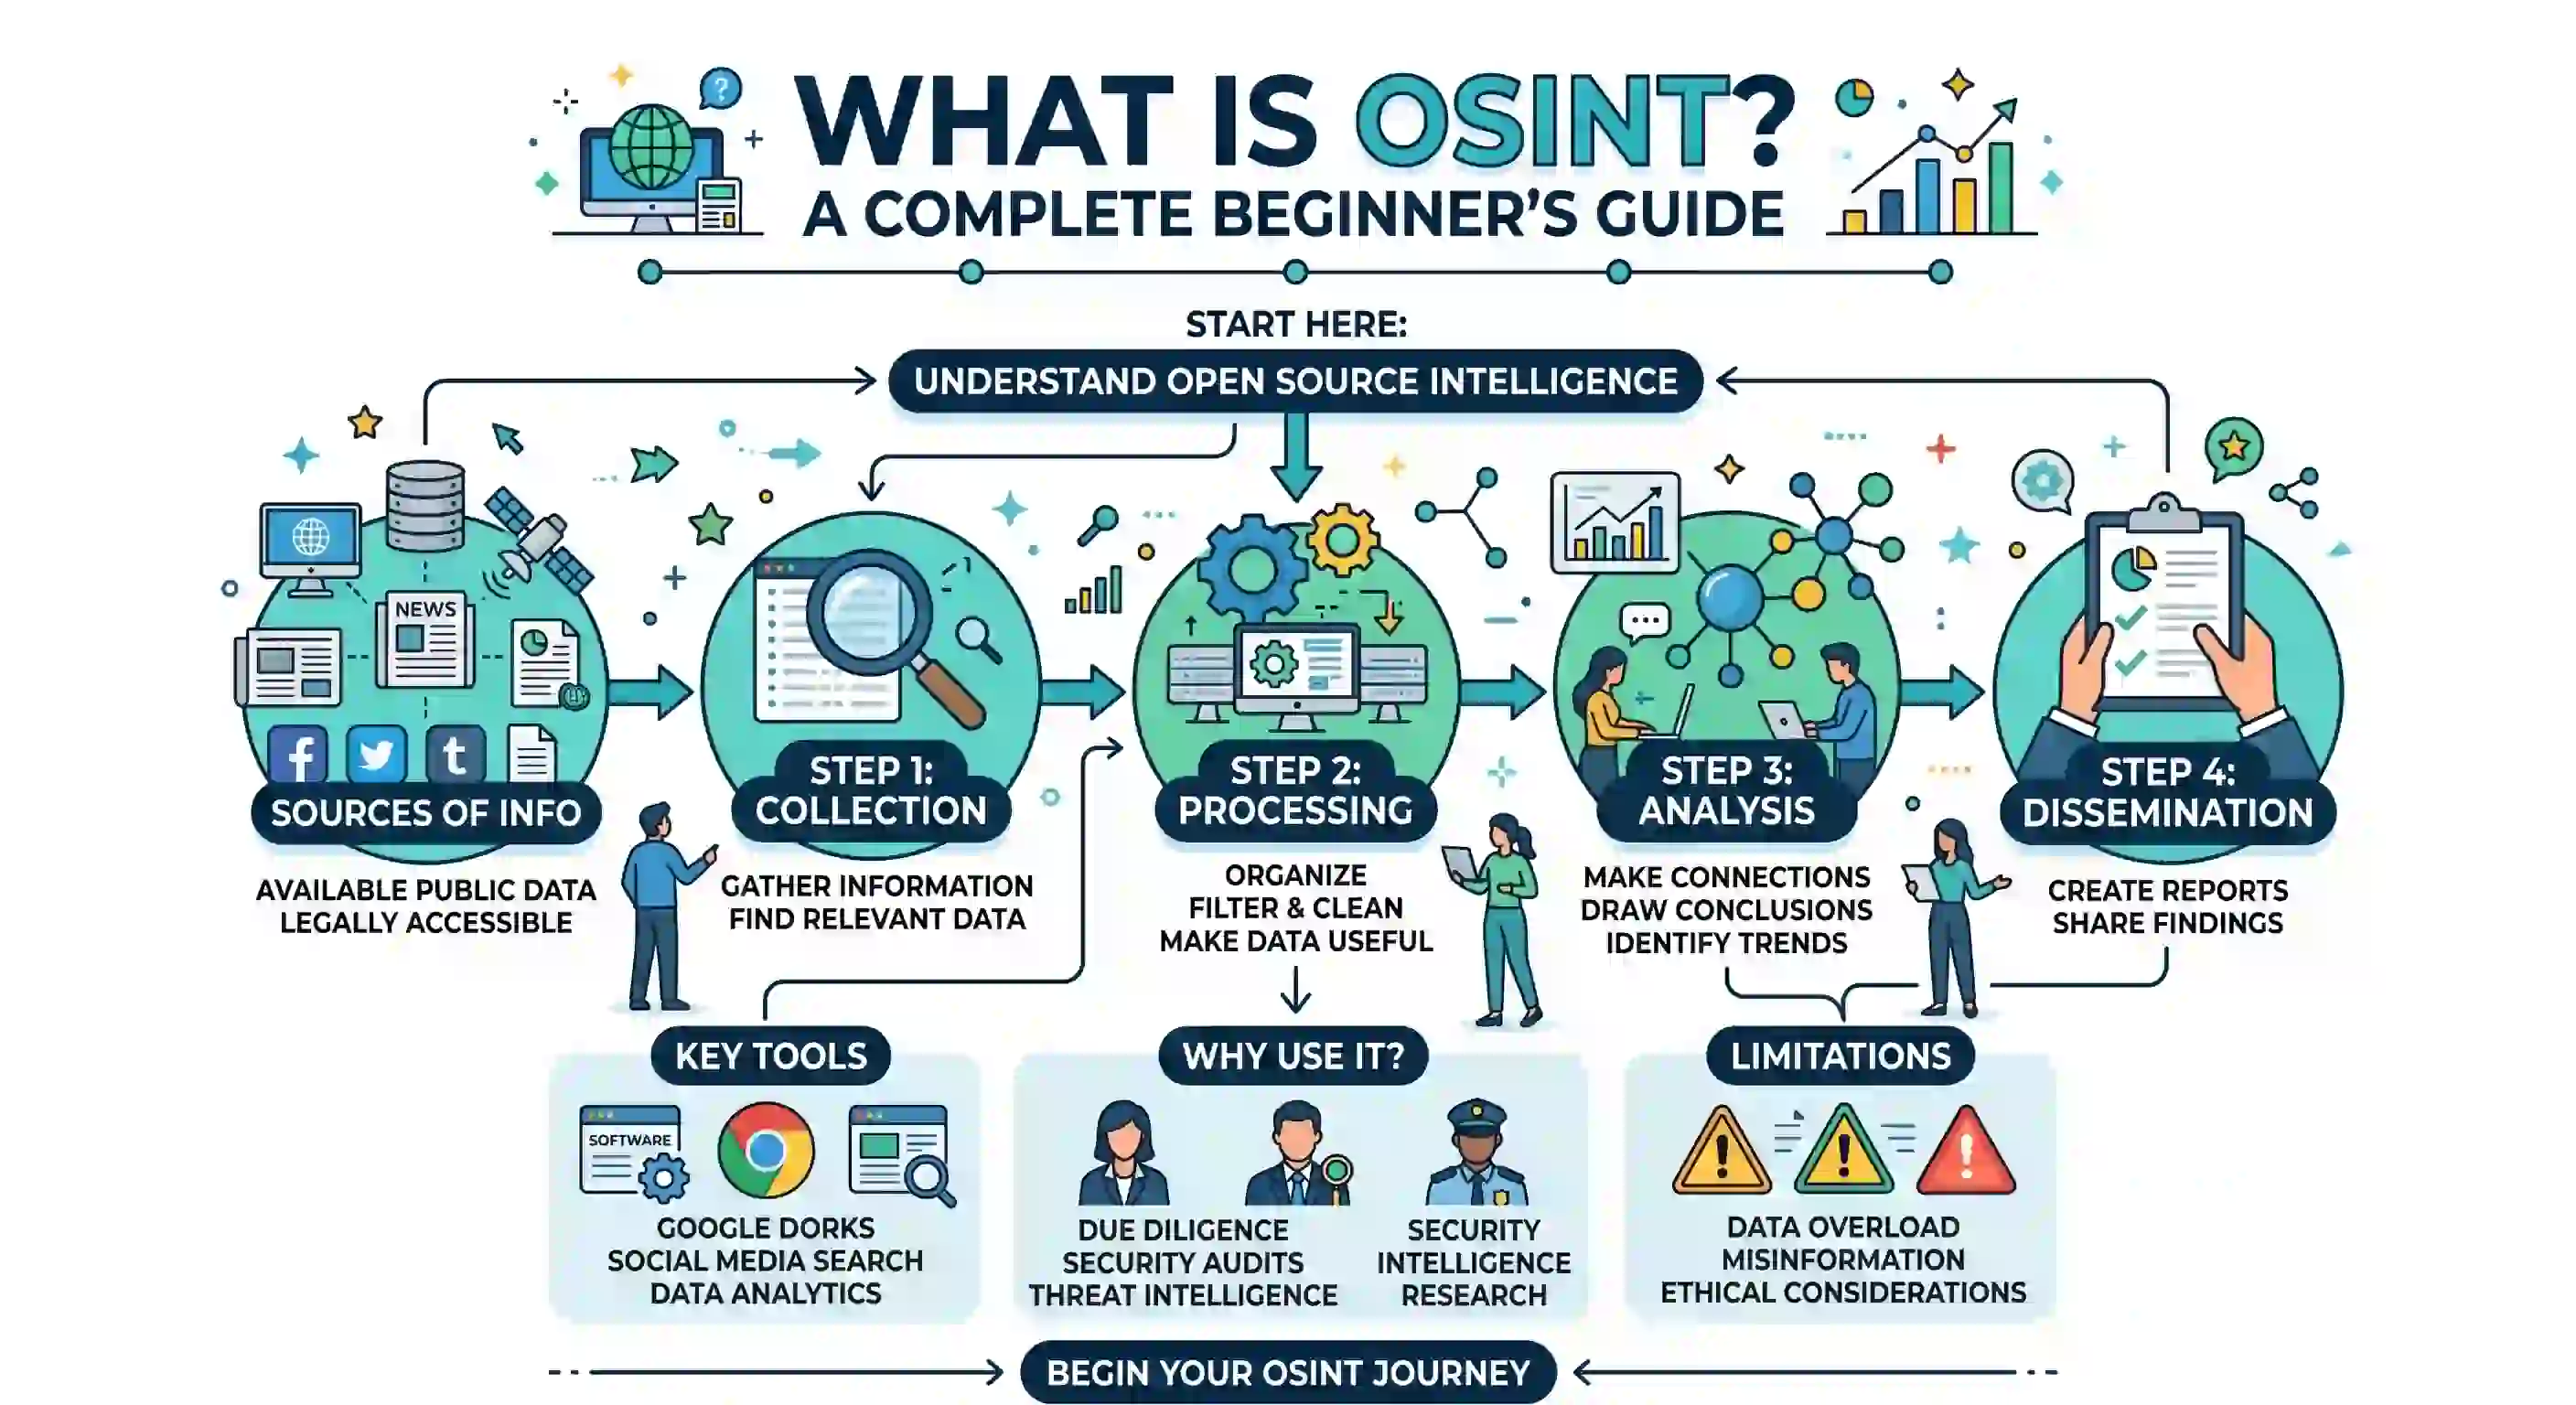
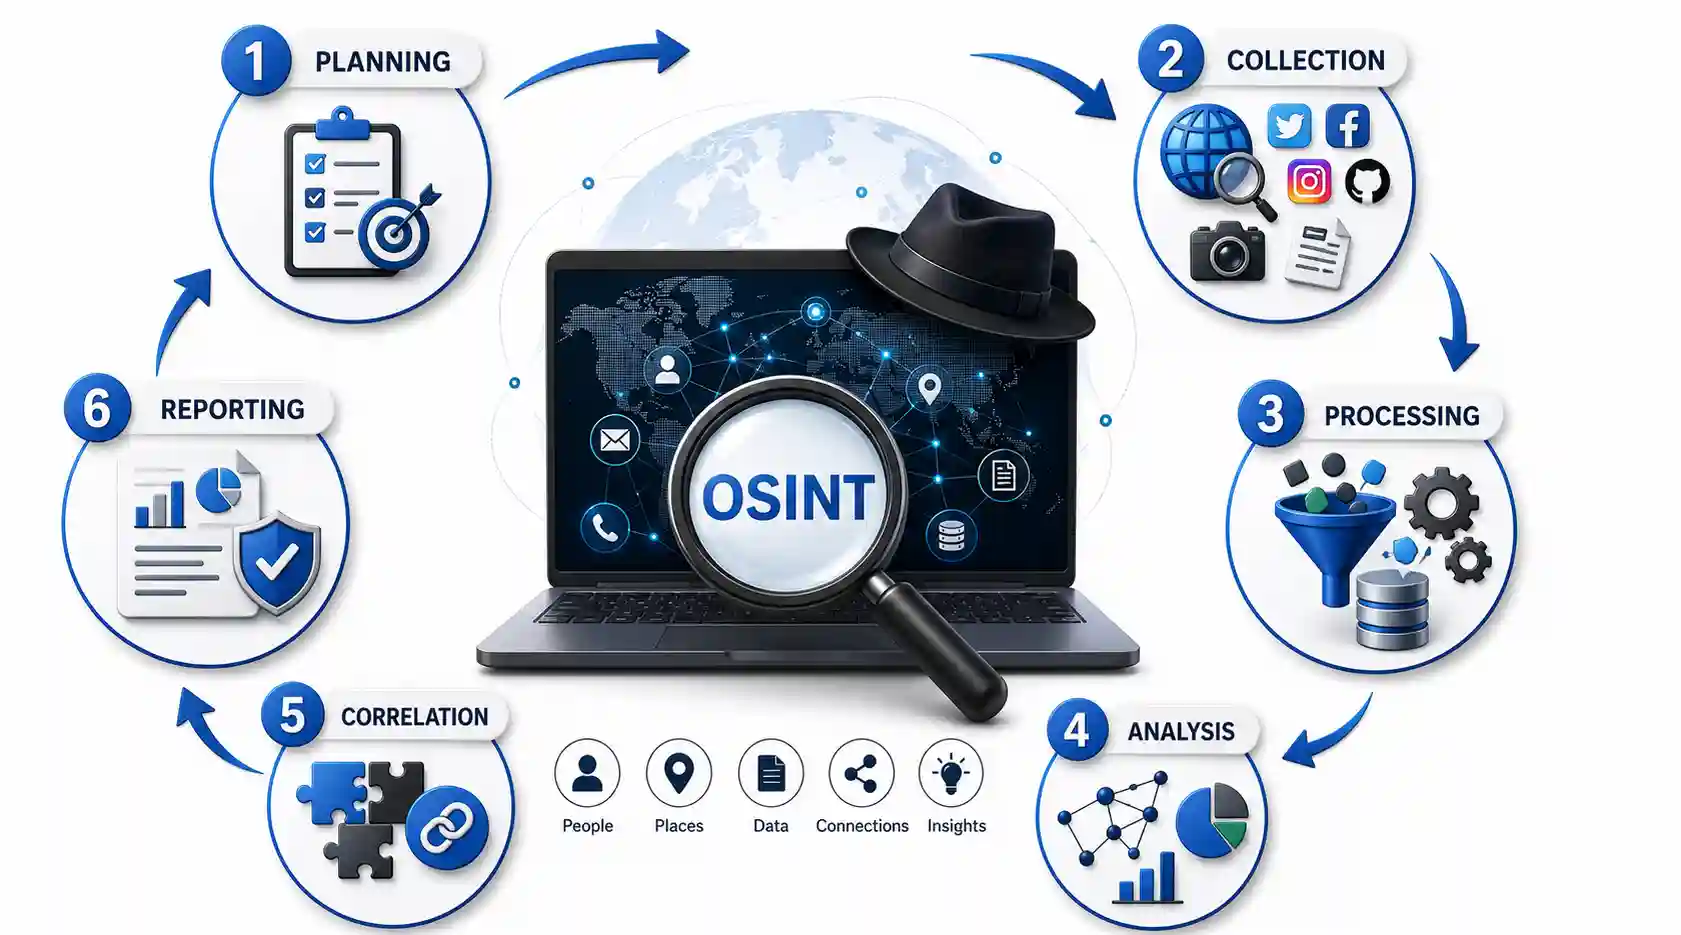
This structured workflow forms the core of professional OSINT. It requires patience, adherence to operational security, and a focus on verifying data through multiple independent sources.
Discussion
Loading comments...