

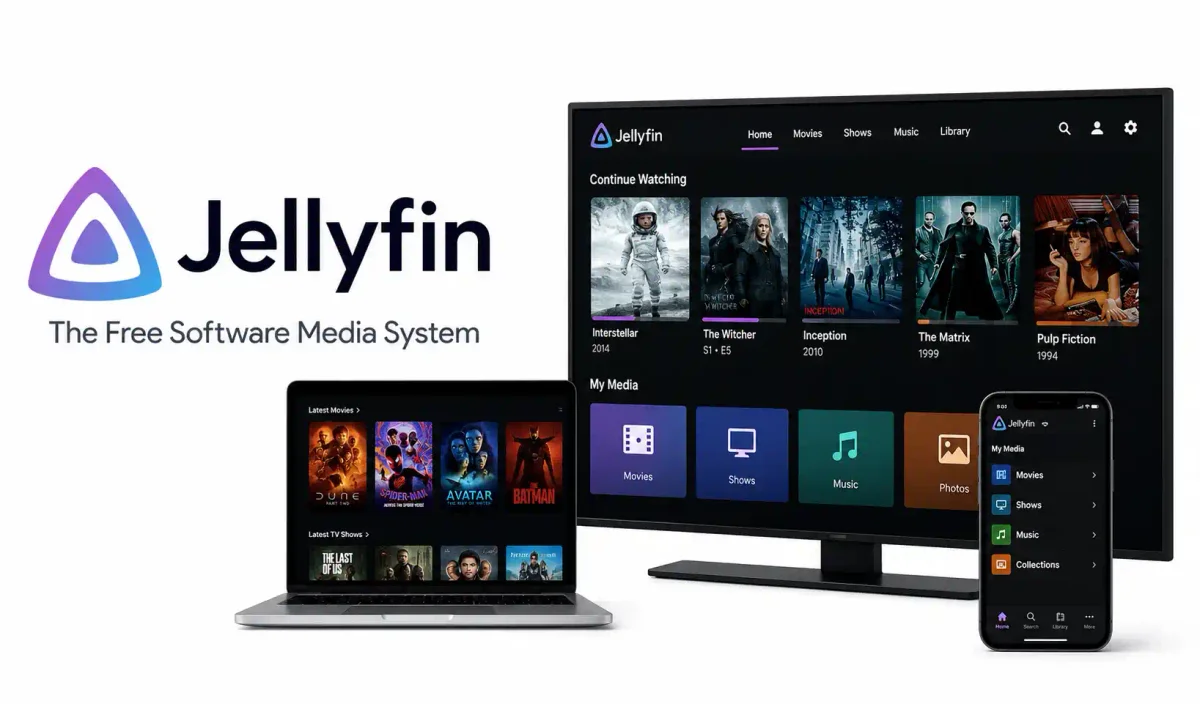
A few years ago, I realized I was paying over $60 a month for four different streaming services, yet half the movies I wanted to watch were constantly rotating out of their catalogs due to licensing disputes. Meanwhile, I had terabytes of ripped DVDs, home videos, and high-quality audio files sitting idle on a dusty hard drive.
I wanted a clean, Netflix-style interface to stream my own media to my TV, phone, and laptop without uploading it to the cloud. Jellyfin was the answer.
Jellyfin is a completely free, open-source media server. Unlike Plex, it doesn’t force you to create a third-party account, it doesn’t phone home, and it doesn’t gate critical features (like hardware transcoding) behind a premium subscription. If you’ve been reading my guide on the best open-source software alternatives, setting up a media server is often the gateway into self-hosting. Whether you run it on an old desktop PC or a cheap VPS, it gives you total ownership of your media.
In this guide, I’ll walk you through the complete deployment—from configuring the initial Docker container (using terminal tools like Micro or Nano and the top 13 Linux CLI text editors) to enabling hardware transcoding and securing the whole setup for remote access.
1. How Jellyfin Actually Works
Before diving into commands, it’s important to understand the architecture. Jellyfin consists of three moving parts: your media files on a physical disk, the background server process that indexes them, and the client applications that connect to play them.
Because Jellyfin is entirely local, it inherently supports End-to-End Encryption in the sense that you own both the server and the TLS certificates. When you start the Jellyfin systemd process (or Docker container), it begins crawling the directories you specify. It reads the filenames, queries massive community metadata databases (like TMDB), and downloads posters and descriptions.
If you are using tools like Syncthing for private file sync to move media from your laptop to your server, Jellyfin can monitor those folders in real-time. This all runs brilliantly inside a virtual machine if you have followed a Proxmox home lab setup guide.
2. System Prerequisites and Hardware
Jellyfin is incredibly lightweight when it’s just serving direct-play files. However, transcoding—converting a video on the fly because your client device doesn’t support the original format—is highly demanding.
- CPU: Any modern quad-core CPU can handle a few simultaneous 1080p transcodes.
- RAM: 2 GB minimum.
- Storage: Budget generously. 4K HDR movies are massive.
- Software: You must have Docker installed. If you haven’t done this, read my guide on installing Docker on Ubuntu.
If you are debating between container engines, Jellyfin runs flawlessly on both. You can read my Docker vs Podman benchmark if you want to run rootless containers.
Hosting this much data on the cloud gets ridiculously expensive. If you read my breakdown of AWS vs Azure vs Google Cloud, you’ll quickly realize why building a home server is the only economical way to host 10TB of video. To move your initial library over to that local server, I highly recommend using standard SFTP file transfers.
3. Step-by-Step Docker Installation
I prefer deploying Jellyfin using Docker Compose because it makes updates trivial and keeps the host system clean.
First, create a directory for the deployment:
mkdir -p ~/jellyfin
cd ~/jellyfin
Create your Compose file:
services:
  jellyfin:
    container_name: jellyfin
    image: jellyfin/jellyfin:latest
    user: 1000:1000
    volumes:
      - ./config:/config
      - ./cache:/cache
      - ./media/movies:/data/movies
      - ./media/tvshows:/data/tvshows
    ports:
      - "8096:8096"
    restart: unless-stopped
Create the media directories to avoid permission errors when the container starts:
mkdir -p media/movies media/tvshowsBecause we specified user: 1000:1000 in the Compose file, we need to ensure the host directories match. If you don’t understand why this is critical, take 10 minutes to read up on Linux file permissions. You can also use my interactive Linux permission calculator to generate the exact chmod commands you need.
sudo chown -R 1000:1000 ./config ./cache ./media
sudo chmod -R u+rwX ./config ./cache ./media
If you hate using the terminal, you can easily deploy this exact Compose stack using a modern graphical PaaS. Check out my Coolify self-hosting guide or my Dokploy setup guide to deploy Jellyfin via a web interface.
Bring the container up:
sudo docker compose up -d4. Initial Setup & Building Your Library
Navigate to http://<YOUR_SERVER_IP>:8096 in your browser. You will be greeted by the initial setup wizard.
When you add a media library, point it to /data/movies (which maps to ./media/movies on your host). A great way to test your server is by grabbing public domain videos from YouTube. You can use my yt-dlp open-source tutorial to download a few 4K test files directly to your server.
Once added, Jellyfin will begin scraping metadata. Interestingly, the way Jellyfin’s scraper reads directory names is very similar to how web crawlers work in the Search Engine Optimization world. Just like Google relies on structured data to understand how search engines crawl and index websites, Jellyfin relies on structured folder names (e.g., Movie Title (Year)/Movie Title (Year).mkv).
It queries massive public databases using the exact same principles hackers use for Open Source Intelligence (OSINT)—gathering publicly available data to build a complete profile of the movie.
5. Hardware-Accelerated Transcoding
Direct play is always the goal, but eventually, someone is going to try and play a 4K HEVC file on a 10-year-old web browser, forcing Jellyfin to transcode it.
Jellyfin’s internal transcode engine communicates with the web client via APIs. If you’ve ever built a Node.js REST API, the concept is identical: the client sends a payload requesting a specific bitrate, and the server responds with a continuous byte stream. If you’re curious about the network layer handling these massive video chunks, read my beginner’s guide to HTTP.
To enable hardware transcoding and take the load off your CPU:
- Go to Dashboard > Playback.
- Select your GPU type (Intel Quick Sync or Nvidia NVENC).
- Check the codecs your GPU supports.
You can inspect the API responses Jellyfin generates during a transcode by opening your browser’s network tab. If you copy the raw JSON responses, drop them into a JSON formatter to see exactly what parameters Jellyfin is passing to FFmpeg behind the scenes. It’s a fascinating look at what happens when you type a URL and request a streaming video block.
6. Securing the Dashboard with a Reverse Proxy
Never expose port 8096 directly to the internet. Doing so is a massive security risk.
Instead, put a reverse proxy in front of it. I highly recommend reading my Caddy web server guide for an incredibly simple configuration, or using a graphical tool like I cover in my Nginx Proxy Manager security guide.
The proxy will automatically enable HTTPS with Let’s Encrypt, ensuring your streams are encrypted in transit. Once the proxy is up, you must configure your host’s firewall to block outside traffic trying to hit port 8096 directly. Follow my UFW firewall guide to lock down the ports, and install Fail2ban to ban IPs that repeatedly fail the Jellyfin login screen.
7. Remote Access & Client Apps
With your reverse proxy configured, you can now connect to your home server from anywhere in the world.
If you prefer not to expose any ports at all, you can access your server via a VPN tunnel like Tailscale. Either way, you will need to point your mobile apps to your server’s domain name, which relies on solid DNS resolution.
Jellyfin has fantastic client apps for almost every device. In fact, it easily makes the list of the best open-source Android apps for media consumption. Once you have remote access working for Jellyfin, you’ll likely want to expose other services, like a self-hosted Paperless-ngx document manager, using the exact same reverse proxy methods.
8. Backing Up Your Jellyfin Data
Your media files are massive and require dedicated backup drives, but your Jellyfin configuration (your watch history, user accounts, and metadata) lives entirely inside the ./config folder we mapped in Docker.
You need to back this folder up. If your server dies, you don’t want to lose your “Watched” status on 500 TV episodes.
Furthermore, you need to securely store your server’s root passwords and the database encryption keys. I rely on the best password managers for this. Specifically, I host my own credentials using the Vaultwarden self-hosted guide, and keep an offline backup on my phone using KeePassDX. I then sync the actual Jellyfin config tarballs to a secondary machine running Nextcloud.
9. Troubleshooting & Maintenance
Running a media server requires occasional maintenance. If you notice strange network behavior or playback buffering, you might need to run through the top 20 Linux security commands to check for network saturation or CPU bottlenecks using htop and netstat.
If you share your Jellyfin server with friends or family, you become their IT support. Remind them to check the website URL before clicking a link when logging into your server, as bad actors often try to spoof domains. It’s the same advice you’d give to help them spot phishing emails.
Lastly, because you are downloading media files from the internet, there is a non-zero chance of downloading malware masquerading as an MKV file. Consider setting up a scheduled ClamAV antivirus scan against your /data directory just to be safe.
10. Conclusion
Deploying Jellyfin is incredibly rewarding. It takes an afternoon to set up, but it permanently frees you from the subscription streaming treadmill.
Once your server is running flawlessly, you should set up automated health checks so you know immediately if it crashes. Follow my guide to deploy Uptime Kuma to monitor your new Jellyfin URL. Secure your admin accounts with a random string from a password generator, enable two-factor authentication (just like you would protect your WhatsApp account), and grab some popcorn.
Frequently Asked Questions (FAQ)
Is Jellyfin completely free?
Yes. Jellyfin is 100% free and open-source with no premium tier, no subscription fees, and no feature paywalls. All features, including hardware transcoding and unlimited client apps, are available to every user at no cost.
Can Jellyfin stream to devices outside my home network?
Yes. By placing Jellyfin behind a reverse proxy with a valid SSL certificate and pointing a domain name to your server, you can securely stream your media library from anywhere in the world.
Does Jellyfin support hardware transcoding?
Yes. Jellyfin supports hardware-accelerated transcoding using Intel Quick Sync (QSV), Nvidia NVENC, and AMD AMF/VA-API. You simply need to pass the GPU device through to the Docker container in your Compose file.
What is the difference between Jellyfin and Plex?
The biggest difference is that Jellyfin is fully open-source and respects your privacy. Plex requires a paid Plex Pass subscription to unlock hardware transcoding and mobile apps, forces you to create a centralized account on their servers, and tracks telemetry.
What file formats does Jellyfin support?
Jellyfin supports virtually all common media formats including MKV, MP4, AVI, MOV, FLAC, and MP3. If a client device (like an old web browser) cannot play a specific codec natively, Jellyfin automatically transcodes the file on the server.
Do I need a powerful server to run Jellyfin?
If you are only “direct playing” media on your local network (meaning your TV natively supports the file format), Jellyfin can run on something as weak as a Raspberry Pi. You only need a powerful CPU or a dedicated GPU if you are transcoding video for remote viewing.
How do I get subtitles working in Jellyfin?
Jellyfin supports embedded subtitles (like those inside an MKV file) and external subtitle files (.srt, .sub). It also features a built-in OpenSubtitles plugin that can automatically search for and download subtitles for your media.
Can multiple people watch Jellyfin at the same time?
Yes, Jellyfin supports multiple simultaneous streams. You can create individual user accounts for your family members, each with their own separate watch history, playlists, and parental control restrictions.
Is Jellyfin legal to use?
Yes, Jellyfin is just a piece of software that reads files on your hard drive. However, you are responsible for ensuring that the media files you host and stream were obtained legally in accordance with your local copyright laws.
How do I update my Jellyfin Docker container?
If you used Docker Compose, updating is trivial. Simply run docker compose pull to download the latest image, followed by docker compose up -d to recreate the container. Your configuration and watch history will remain safe in the mapped volumes.
Discussion
Loading comments...