

In the modern development landscape, managed platforms like Heroku and Vercel offer incredible convenience, but often at the cost of skyrocketing monthly bills and vendor lock-in. For developers who want the ease of a Platform-as-a-Service (PaaS) without the enterprise price tag, there is a better way.
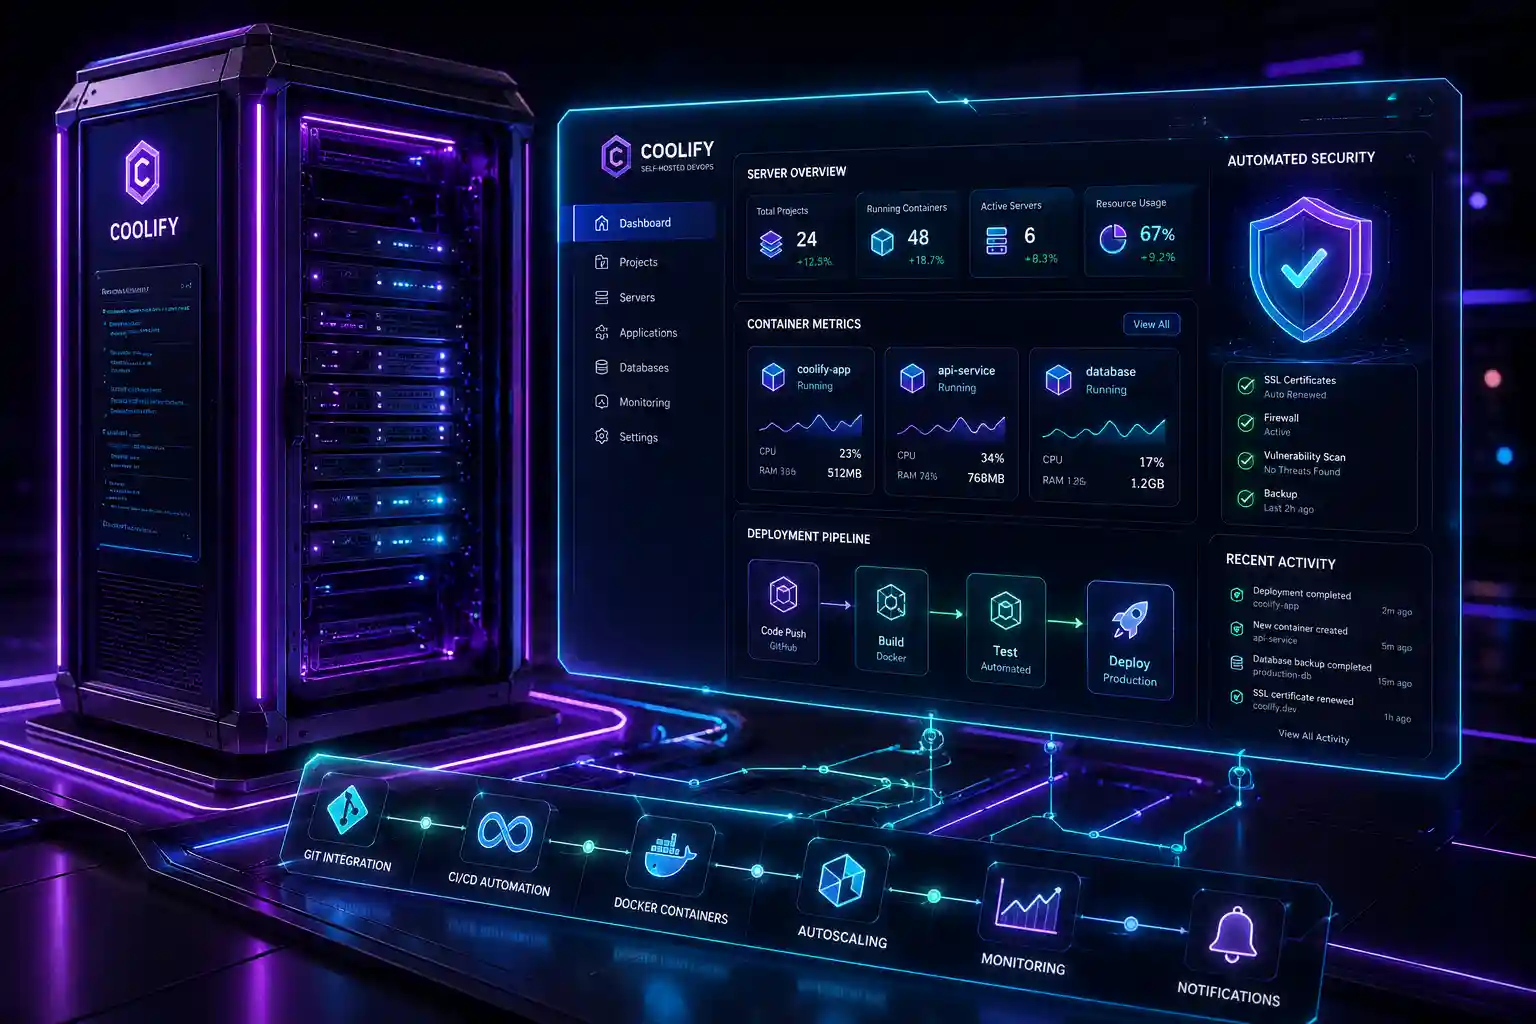
Coolify is an open source Heroku alternative that puts you back in control of your infrastructure. By choosing to deploy a Coolify selfhost instance, you gain the ability to deploy applications, databases, and services on your own hardware or VPS server, effectively turning your server into a private, automated cloud environment.
Whether you’re hosting standard APIs or building a complex, automated dashboard, managing your own infrastructure has never been this simple.
What is Coolify and Why Self-Host Your PaaS?
At its core, Coolify is a self-hosted PaaS designed to simplify the complexity of server management. It acts as an abstraction layer over Docker, allowing you to deploy apps with Coolify using a user-friendly dashboard that feels just like the major cloud providers.
Why choose this path? Beyond the obvious cost savings, self-hosting provides complete data sovereignty and the flexibility to configure your environment exactly how your application requires it. If you have previously read our guide on what is a VPS, you know how empowering dedicated virtual environments can be.
By leveraging Coolify, you move away from the “black box” model of managed platforms. You get full visibility into your logs, networking, and resource allocation. If you’ve worked with raw setups, like our guide on how to deploy a Node.js app on a Linux VPS, you will immediately appreciate how Coolify automates the lifecycle of your containers, handles the reverse proxy configuration automatically, and ensures your infrastructure scales with your needs.
Coolify vs. Vercel vs. Heroku: A Cost-Benefit Analysis
When comparing managed providers to a self-hosted solution, the financial disparity becomes clear once your application scales. While Vercel and Heroku offer entry tiers, they quickly become expensive as you add databases, custom domains, and increased traffic.
| Feature | Heroku | Vercel | Coolify (Self-Hosted) |
|---|---|---|---|
| Monthly Cost | $50 - $500+ | $20 - $200+ | $5 - $20 (VPS cost) |
| Database Support | Paid Add-ons | External required | Built-in (One-click) |
| Infrastructure | Shared/Managed | Serverless | Your VPS (Dedicated) |
| Vendor Lock-in | High | High | None |
| Automated SSL | Paid/Configured | Automated | Automated (Let’s Encrypt) |
For an application requiring a database and moderate compute, Heroku might cost $100/month. A VPS hosting Coolify, even at a high-performance tier (e.g. from Hetzner or DigitalOcean), rarely exceeds $20/month. Over a year, this transition represents thousands of dollars in savings, providing you with more resources for the same investment.
Step-By-Step: Installing Coolify on a Fresh VPS
Installing Coolify is designed to be a streamlined experience. Start with a fresh VPS running Ubuntu 22.04 or 24.04. Avoid shared hosting; choose a reputable provider like Hetzner, DigitalOcean, or Linode. SSH into your server and run the official installation script:
curl -fsSL https://cdn.coollabs.io/coolify/install.sh | bashDuring installation, the script will automatically configure Docker and the necessary networking stack. For details on how Docker operates on Ubuntu, check out our guide on how to install Docker on Ubuntu.
Troubleshooting Installation Failures
If you encounter installation failures, it is often due to existing firewall rules or port conflicts.
- Ensure that ports 80, 443, and 22 are open.
- If you are using a cloud-provider-specific firewall (like AWS Security Groups or Oracle Cloud Ingress rules), you must manually allow the traffic before the installation script finishes.
- If you run into issues with default Linux network interfaces, review your UFW firewall settings or look at our guide on troubleshooting general firewall security.
Once installed, access your dashboard via the provided IP address to finish the setup.
Securing Your Coolify Instance: Best Practices
Since you are managing the server, security is your responsibility. Do not rely on default settings alone.
- Secure SSH Access: Start by disabling root SSH login and using SSH keys exclusively. Check our guide on how to secure SSH on Ubuntu for full instructions.
- Setup Firewall: Install UFW (Uncomplicated Firewall) and restrict incoming traffic to only necessary ports (80, 443, and your SSH port). Our UFW Firewall Guide covers this step-by-step.
- Brute Force Protection: Implement Fail2Ban to protect against brute-force login attempts.
- Dashboard Security: Enable Two-Factor Authentication (2FA) immediately inside your Coolify dashboard settings.
- SSL Configuration: Because Coolify manages your reverse proxy configuration, it handles automated Let’s Encrypt SSL certificates out of the box. Ensure this feature is enabled for all your domains to force HTTPS traffic, similar to our guide on enabling HTTPS with Let’s Encrypt.
- Container Security: Never expose your internal database ports to the public internet; keep them isolated within the internal Docker network created by Coolify. You can learn more about this by reading about securing Docker containers.
Deploying Your First Application: From GitHub to Production
Deploying your first app is a matter of connecting your Git repository. Coolify uses Git-based CI/CD pipelines to trigger builds whenever you push to your main branch. Learn how to configure your Git workflows in our Git and GitHub Guide.
Under the hood, Coolify utilizes the Nixpacks build system, which intelligently scans your project to determine the required runtime, dependencies, and build commands. Nixpacks is an excellent alternative to standard Dockerfiles, reducing build complexity for frontend projects built in React, Vue, or Svelte or backend APIs written using Node.js and Express.
Simply select ‘New Resource’, choose your repository, and Coolify will detect your framework automatically.
Managing Databases and Services with One-Click Installs
One of the standout features is self-hosted database management. Instead of paying for an expensive managed database instance, you can use the ‘One-click service installation’ feature.
Coolify handles database engine deployments automatically using Docker Compose. Whether you prefer PostgreSQL or MySQL, you can easily spin up a service and configure the system. For a comparison of database features, check out PostgreSQL vs. MySQL.
Coolify handles volume mounting for persistence, ensuring your data survives container restarts or updates. If you want a visual web interface to inspect your containers, you can also spin up Portainer.
Whether you need a database, a message queue, or services like Nextcloud, Vaultwarden, or n8n, the process remains consistent: click to deploy, set your credentials, and let Coolify handle the Docker Compose deployment.
Advanced Features: CI/CD Pipelines and Automated Backups
Coolify isn’t just for hosting; it’s a full CI/CD suite. You can define custom deployment hooks, run pre-build scripts, and manage a multi-server architecture.
Multi-Server Destination Scaling
For scaling beyond a single VPS, you can add additional servers to your Coolify dashboard as “destinations” using SSH connections. This allows you to distribute your workload across multiple nodes, effectively building your own private cloud cluster without paying for enterprise container orchestration tools.
Automated S3 Backups
Don’t forget to configure backups. Coolify allows you to connect S3-compatible storage like MinIO, Cloudflare R2, or AWS S3 to store your database snapshots. Schedule these backups to run daily. Read our detailed guide on backup strategies for self-hosted servers to build a robust disaster recovery plan.
Additionally, you can monitor your server status and deploy warnings using Uptime Kuma to track application availability.
Migration Strategy: Moving with Zero Downtime
Moving an active production application from Heroku or Railway to Coolify requires careful planning to prevent service disruptions.
graph TD
    A[Setup Coolify VPS] --> B[Deploy Application in Coolify]
    B --> C[Restore Database Backup on Coolify]
    C --> D[Run Dual Writes / Health Check Verification]
    D --> E[Switch DNS Records to Coolify IP]
    E --> F[Decommission Old Heroku Instance]
Steps for a Zero-Downtime Migration:
- Initialize the Target: Spin up your new application and database resources on your Coolify instance. Keep the old platform running concurrently.
- Synchronize Environment Variables: Copy all config vars and environment keys from your old dashboard to Coolify.
- Database Migration: Import your data using standard command-line tools. (For detailed steps on dump/restore procedures, refer to our FTP and SFTP file transfer guide).
- Verification & Testing: Verify the database connection and run diagnostic scripts to ensure Nixpacks builds run successfully.
- DNS Switch: Update your domain’s DNS A-records or CNAME to point to your Coolify VPS IP address. Since Coolify manages automated Let’s Encrypt SSL certificates, the transition is seamless.
- Grace Period: Wait at least 24-48 hours for DNS propagation worldwide before turning off your old Heroku or Railway dynos.
Common Pitfalls and Troubleshooting Your Self-Hosted Setup
The most common issue users face is Docker networking conflicts. If your application fails to start:
- Check the logs inside your dashboard. Read about interpreting server events in our Linux logs guide.
- Often, this is caused by a port collision where another service is already occupying a port on the host machine. You can inspect active ports using Linux security commands.
- If you experience “Connection Refused” errors, verify your reverse proxy configuration. Coolify uses Traefik by default; if you have manually modified your Traefik settings, you might have broken the routing. Consider using Nginx Proxy Manager if you manage other standalone projects on the side.
- For VPS-specific firewall issues, always double-check the provider’s external console. If a deployment hangs, it is often due to resource constraints; ensure your VPS has enough RAM to handle the build process, as Nixpacks can be memory-intensive during the initial compilation phase. Read how Linux memory management works to optimize swap memory configurations.
Coolify transforms the daunting task of server management into a seamless, automated experience. Ready to take full control of your infrastructure? Head over to the Coolify website, grab a VPS, and start deploying today!
Frequently Asked Questions (FAQ)
What are the minimum system requirements for Coolify?
Coolify runs efficiently on servers with as little as 1 CPU core and 2 GB of RAM. However, compile-heavy builds using Nixpacks or Docker Compose might require extra swap memory or temporary CPU scaling.
Can I migrate database services from Heroku with zero downtime?
Yes. By deploying the new database on Coolify, migrating schemas, establishing dual-writing (or brief read-only modes), and swapping the DNS target domain, you can achieve a zero-downtime migration.
How does Coolify handle SSL certificates?
Coolify automatically provisions and renews Let’s Encrypt SSL certificates for all custom domains mapped to your applications and services.
Is Coolify secure?
Coolify is highly secure when configured following best practices, which include deploying UFW, limiting port exposures, setting up Fail2Ban, enabling Two-Factor Authentication, and maintaining regular backup strategies.
Can I host multiple websites and applications on one server?
Yes. Coolify uses Docker and a built-in reverse proxy (Traefik) to route incoming traffic from different domains or subdomains to their respective containers running on the same VPS.
Discussion
Loading comments...